21 Ways You’re Spinning Wrong
The hardest part of Spinning isn’t the climbs. It’s avoiding the many variables (seat height! resistance! posture!) that could mess with your form, efficiency, and overall workout. Avoid these mistakes to make the most of your sweat session.
Dress the Part
Your pants are too loose.
Leave the baggy sweats at home. Form-fitting leggings are your best bet on the bike, says Marion Roaman, general manager of Peloton Cycle. “Though most bikes are designed so the fabric cannot get caught in the crank arm, it’s annoying to have clothes flailing around while you are riding to the rhythm,” she says. “Not to mention cycling is such a sweaty workout. The last thing you want is extra fabric hanging from your body.”
Your sports bra is weak.
Sure, Spinning is non-impact, but there’s a lot of movement that can make your breasts, well, bounce. Roaman suggests wearing a super-snug sports bra to keep your girls comfortable.
Your shoes aren’t clipped in.
“Cycling shoes allow you to connect directly to the pedal, providing a more secure stroke so you can forget about your feet and focus on your breath, form, and work,” says Jonathan Carlucci, a master instructor at Revolve Fitness. “The rigid sole also gives you more efficiency on the bike, helping you get the most out of your workout.” Once you’re clipped in, make sure you’re pedaling correctly. Your feet should remain flat and neutral. Don’t let the toes point down which can cause tension in your lower back. If you catch yourself doing it, Carlucci suggests pressing down in the heel to level things out.
Get Set Up
You showed on time.
Showing up two minutes before, or right as class is about to start doesn’t allow any time to pack your stuff away, grab the right weights, or set up your bike properly. Which is one of the biggest mistakes you can make, says Carlucci. Next time you add a class to the calendar, set it to start 15 minutes earlier, so you arrive with plenty of time to get situated without feeling frenzied.
Your seat is too low.
Whether you’re a Spinning newbie or seasoned pro, if you never took the time to learn the proper setup, you’re asking for a myriad of problems—including injury. “If you’ve ever woken up the day after a cycling class and felt that not-so-great soreness in your hips and knees, sitting too low is likely the culprit,” says Carlucci. Not to mention that a too-low saddle causes you to lose range of motion in your pedal stroke, he says, meaning you’re not making the most of each stride and short-changing your workout.
Instead, make sure to ask your instructor to find the right setting for your height. A quick rule of thumb: Stand next to the bike and position the seat to hit the height of your hipbone, says Kate Hickl, a master instructor and vice president of recruiting at Flywheel Sports. “Once you’re in the saddle, make sure you can reach the bottom of the pedal stroke with a slightly bent knee and flat foot.” Most bikes have a number associated with the seat settings, so take note of yours so you can easily make adjustments for your next ride.
You followed the elbow-to-fingertip measurement for your handlebars setup.
When trying to figure out the correct distance between your saddle and handlebars (so, the spot where your bod will go), ignore that elbows measurement. “It doesn’t work because our arms aren’t always in the same proportion to our torsos,” explains Carlucci. And it’s all too common for riders to get set too far back, says Hickl. “This encourages unwanted rounding in the back and a tendency to bounce, causing an inefficient ride,” she says. To pick the perfect spot, hop on the bike and adjust from there. “Ensure you’re close enough to hold the handlebars comfortably; you shouldn’t have to lunge for them, nor should your body feel squeezed between the handlebar and the saddle,” says Carlucci.
Your handlebars are at the wrong height, too.
Can you tell how important bike setup is yet? Hickl says that as far as height goes, comfort is what matters. “When handlebars are high, the rider is more upright and elongated through the spine and waist and it’s easier to keep the shoulders away from the ears,” she says. If you want a bonus abs workout, set them closer to your saddle height. “When the handlebars are low, a rider must work to minimize the rounding in the back. It requires a great deal of abdominal strength throughout the ride to maintain proper form.” No matter what, don’t set them lower than your seat height. That’ll put unnecessary pressure on your groin and cause strain on your lower back and shoulders.
Your knee bangs into the emergency brake.
This means you’re too far forward, explains Hickl. Doing this—whether you’re in or out of the saddle—means you’re sinking into your joints, and you end up putting weight into your thighs or arms instead of engaging your core. The solution? Push your hips and booty back, so your weight is right over the saddle.
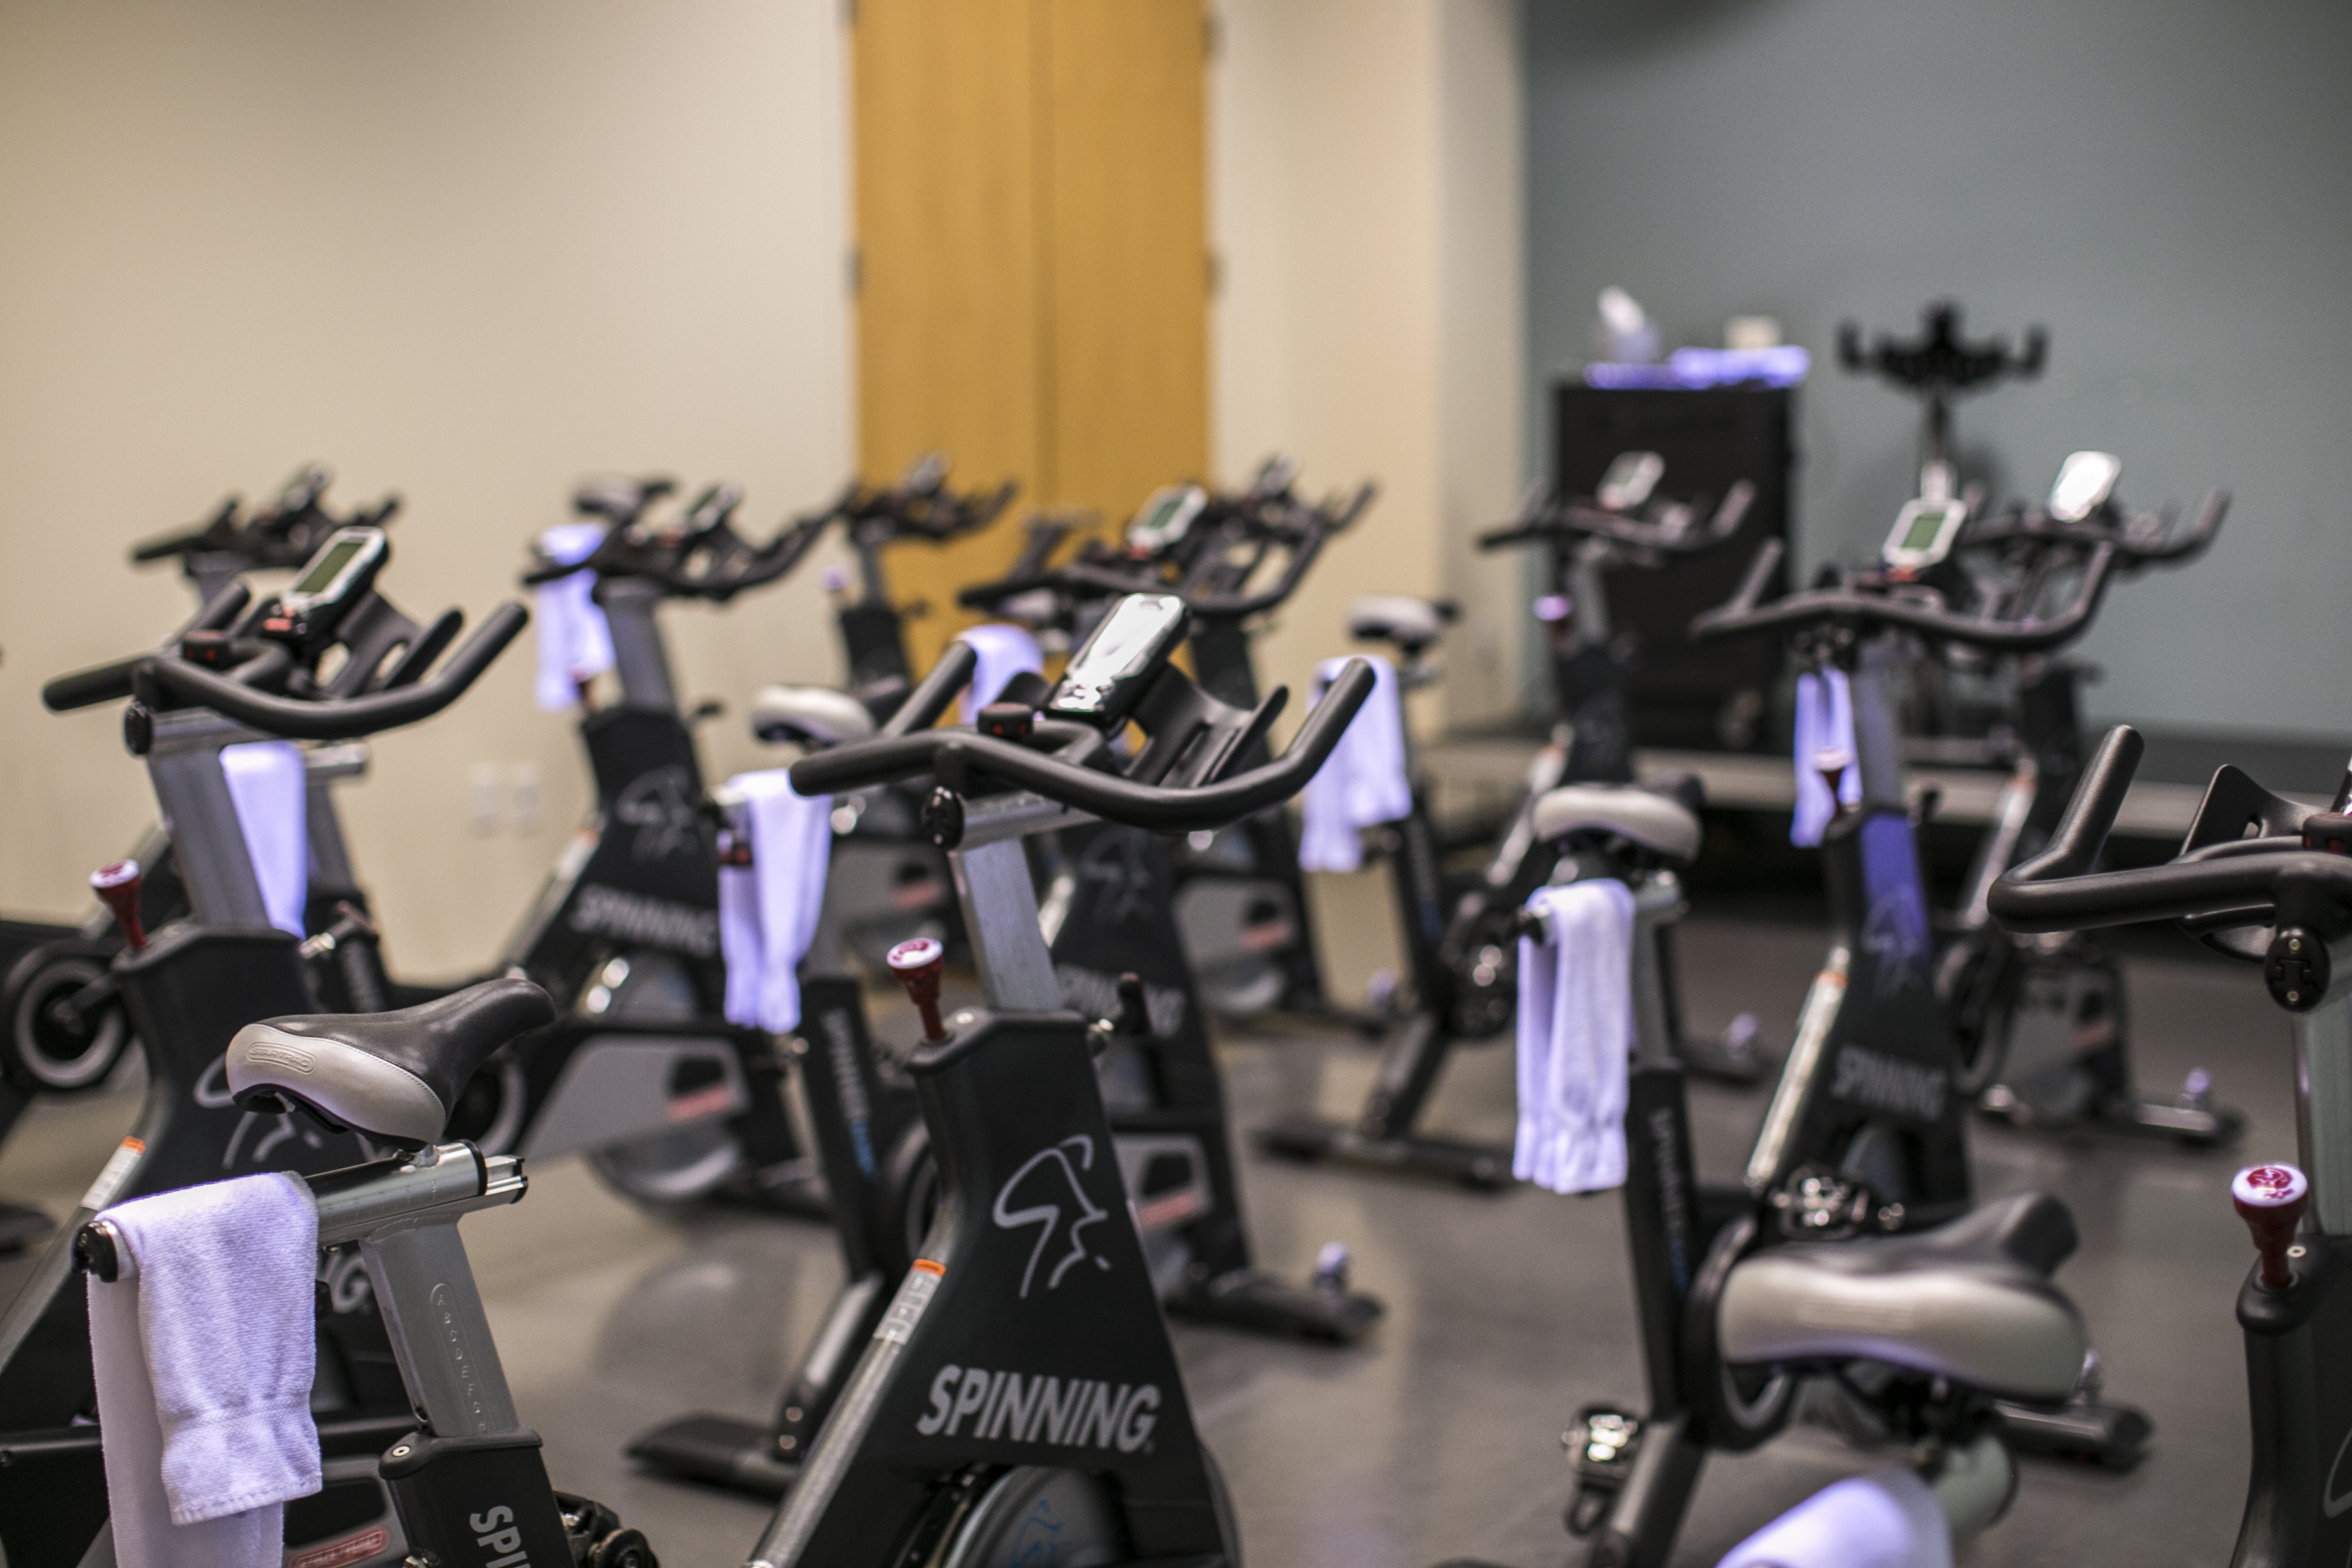
The Actual Spinning Part
You’re not following the workout.
Your instructor is setting you up for sweaty success, so listen closely to determine how much resistance should be on your wheel. “A good instructor will describe the terrain you’re riding—a flat road or a heavy hill—and how hard you should be working,” says Carlucci. This isn’t the place to march to the beat of your own drum. Stick to the instructions, and you’ll likely feel a mental boost too. Many classes are set up to “ride as a pack” to bolster team camaraderie.
That resistance is too low.
“All too often I see people riding with too little resistance,” says Carlucci. “Resistance is where the magic happens. If you’re looking to burn calories, you do it by powering through the resistance, by upping your challenge, by increasing your workout output.” In other words, the more you crank that knob to the right, the stronger you get. Not to mention that a too-low resistance makes your cadence too fast, putting you at risk for damaged joints. How can you tell there’s not enough? “If your hips are bouncing or your pedal stroke is too loose, or your shoe pops out of the clip, those are sure signs,” he says.
On the flip side, your resistance could be too high.
If you can’t match your pedal stroke to the beat of the music, or stay within the RPM range that your instructor is coaching, turn that knob to the left until you can. “If your instructor is coaching you to feel breathless and be working hard while staying with the beat, your resistance should be high,” says Roaman. “If they’re causing you to take it easy while sticking to the beat, it should be light.”
You fling your elbows out during a “tap back.”
It’s one of the most popular moves in Spinning classes these days. It’s designed to activate your glutes and core by driving your hips backward, “tapping” it over the saddle without fully sitting. But if you fling your elbows out to your sides, you add tension to your shoulders and take away some of the booty-blasting effects of the exercise, says Roaman. Instead, keep your arms close to your sides, with a slight bend in the elbow, as you tap back.
You party too hardy on the bike.
We get it—a rockin’ playlist makes you want to groove on that bike like it’s 1999. But swaying side to side throws your body off-balance, forcing you to grip the handlebars tightly. Instead, channel that energy into perfectly matching your cadence to the beat (and crank the resistance if that feels too easy). Add a little headbang for good measure.
You death-grip the handlebars.
Those babies are there for stability, not support. Relying on them to support your weight takes away the core and quad work you’re after, says Carlucci. Flutter or flex your fingers during the hard parts to check in on form throughout class.
You don’t pull up on the pedals.
It’s all about finding the perfect balance in your pedal stroke to make your stride as efficient as possible. “If you’re just pushing down, you’re overtaxing your muscles,” says Hickl. “The down stroke will happen naturally, so if you focus on lifting the opposite foot, you’re engaging the hamstring and glute muscles, and balancing the work in your legs from front to back”. Translation: Don’t make your quads do all the work; letting your hammies in on the action gives you more power.
You don’t let the music move you.
“A good instructor will know how to curate a playlist that is true to himself or herself, while simultaneously appealing to as wide an audience as possible,” says Carlucci. “Like a good meal, it should have hints of several flavors. They’ll know how to finesse the musical phrasing and dynamics in relation to the physical activity on the bike, appearing to have command over that beat.” If you’re not jiving with the tunes, try a new class until one clicks. You’ll leave feeling even more invigorated.
You skip the stretch.
It’s one of the most important parts of the workout. Opting out nixes your jump start on the recovery process. Plus, it’s annoying. “You’re opening the door and letting all that light stream into a dark room, disrupting that experience the instructor is working so hard to create,” says Carlucci. And if you need to leave early for something unexpected, just signal to the instructor that you’re OK. Otherwise, they’ll worry you’re injured.
Rock Your (Upper) Body
You skimp on the weights.
Just because you’re only lifting one to three pounds doesn’t mean your muscles aren’t going to quiver. “Go for a weight that’s challenging, but sustainable,” says Carlucci. “At the beginning, the weight might feel comfortable, but by the end, you should be pretty taxed and ready to be done.” In other words, if you’re not mentally begging for it to be the last rep, try bumping up to the next weight level. That said, Roaman recommends not going over six pounds for this workout. “Two- or three-pound weights in each hand is perfect for a nice, toning set of arm work,” she says. “If you go above that, you’ll likely start to pull from your lower back, neck, and shoulders and sacrifice proper form.”
You fan out your elbows during triceps work.
They’re a staple in every Spinning class, but if you do them wrong, you’ll miss out on the muscle-firming action. Start with your elbows in a 90-degree angle, the weight directly behind your head. As you lower and extend, keep your elbows close to your head; we like to think about grazing our ears, for reference—to make the most of every rep.
You hold your breath.
Remember, your muscles need to breathe too. Breathe in through your nose during the eccentric part of the exercise, and out through your mouth during the concentric portion, when the muscle is doing the hardest part of the move.
You stop pedaling, or take off all the resistance.
The focus is on your upper bod during this segment, but stopping all motion in your lower half will make it that much harder to get going again. Roaman suggests keeping light to medium resistance; it shouldn’t be too difficult for you to continue pedaling. Focus on keeping your core engaged to stabilize your upper body while you work.
Article by Samantha Lefave
The Arena District Athletic Club is more than just a gym; it’s a premier fitness facility located in the heart of the Arena District in downtown Columbus. We provide convenience and quality, featuring top-of-the-line equipment, top-notch personal trainers, spa-like locker rooms and a wide variety of free group fitness classes daily including Cardio, Spinning, Barre Fusion, Yoga, Boot Camp and more. We offer free 2-hour parking and convenient contract-free memberships, to fit your healthy lifestyle needs. Don’t just join, belong.